Thursday, December 30, 2010

Clearance Shirts to Awesome Shirts Tutorials

I had a coupon for Kohl's, so I got two shirts that were exactly the same, because I had a plan! I hate cutting up brand new shirts, so I carefully only cut the bottom portion off so I could use the top portion for something else. Here is what I came up with for my purple shirts!

First start with two shirts. They can be the same color or different colors, your choice!

Cut off the bottom half of one shirt under the bust line. These will be your pleats

Cut that piece in half

Leave the first piece the same size, and then cut pieces of different lenths. make sure there are two sides, because we are goign to sew them together so it has more volume.

Take t he pieces and sew right sides together, then flip them right side out. Lay them on your shirt to see the look you want, then sew them on at a time, laying another strip on top every time.

Done. Simple easy accented shirt. Not my favorite, but it does jazz up a plain shirt.


Now for the shirt you cut up. I got this gray shirt really cheap because it was huge, and had this weirdo hole right in the center of the back. Who does that? Cut the bottom of the second shirt also at the bust line.

Sew Right sides together all the way around and now you have a to toned shirt! I made mine a little tighter on the sides on the gray portion, because it was looking like a maternity shirt. If you actually want a maternity shirt this is a great one!

Deep Fried OREOS

I am on an oreo kick, and a deep fried stuff kick... Next month I will be on a diet kick. :) My friend Sam from Utah came to town, and we made DEEP FRIED OREOS! Yes, it is exactly how it sounds. Here is how to make them!
You need:
1. Oreos
2. Oil for frying
3. Pancake Mix or homemade pancake mix

Dip the oreos into the pancake batter and cover them completely

Gently drop them into the deep fryer, or your hot oil on the stove top. We had the oil at about 350 degrees

Finished products!

They taste like little delicious donuts with a gooey oreo inside! We really enjoyed them!

Here is Sam kicking it up a knotch and adding some hershey's chocolate

Oh yes... Heaven

Tuesday, December 28, 2010

Deep Fried Corn Dogs

On Black Friday my husband and I bought a deep fryer. We have been having LOTS of fun deep frying things and trying new things out! Here is a corn dog batter recipe that we came up with!


Corn Dog Batter
1/2 Cup Flour
1/2 Cup Corn Meal
1/2 Teaspoon Dried Mustard
1/2 Teaspoon Paprika
1/2 Cup Sweet Chili Sauce (my husand's creation)
2/3 Cup Buttermilk
Salt
Pepper

Stick a hot dog on a skewer and throw it in the dep fryer at 375 degrees until golden Brown

Sour Cream Cocoa Cupcakes w/ Coffee Butter Frosting

After a week break, I am back! I was too caught up with Christmas to do any crafting! My best friend and her husband have been in South Korea teaching English for a year and a half, and they also came home this last week! Very exciting!


This recipe is from one of my favorite Christmas presents. My step mom got me this really cool cookbook from the 1950's. It is old, worn, and so cool! It is called the "American Woman's Cookbook"

Sour Cream Cocoa Cake

½ Cup Cocoa
¾ Cup Boiling Water
½ Cup Shortening
2 Cups Sugar
2 Cups Sifted Cake Flour
½ Teaspoon Salt
½ Cup Sour Cream
½ Teaspoon Baking Soda
1 Teaspoon Vanilla
3 Egg Whites

Mix Cocoa in boiling water and stir until smooth. Cool. Cream shortening and sugar together until light and fluffy. Add cocoa mixture to creamed mixture. Sift flour, salt and soda together. Add dry ingredients alternately with cream to first mixture. Beat until smooth after each addition. Add vanilla. Fold in stiffly beaten egg whites. Pour into pans lined with waxed paper or into muffin tins. Bake 350 degrees. For Cake bake 30 minutes. For cupcakes 20-25 minutes.


Coffee-Butter Frosting


1 ½ Cups Confectioners’ Sugar
1 Tablespoon Dry Cocoa

1/3 Cup Butter
1 Tablespoon Strong Coffee


Cream the butter and add gradually the sugar and cocoa mixed together. Beat well. Stir in the coffee.


My husband got me some mini silicone cupcake liners and also a mine cupcake pan, so I did both mini and regular cupcakes! Then I used some of his fancy decorating tips to do the little stars. These are DELICIOUS cupcakes!


Friday, December 24, 2010

Winner of Giveaway! Lillie's & Lollipop's Etsy Shop


Lillie's & Lollipop's is a baby and child boutique! Here are some of the items she has for sale!
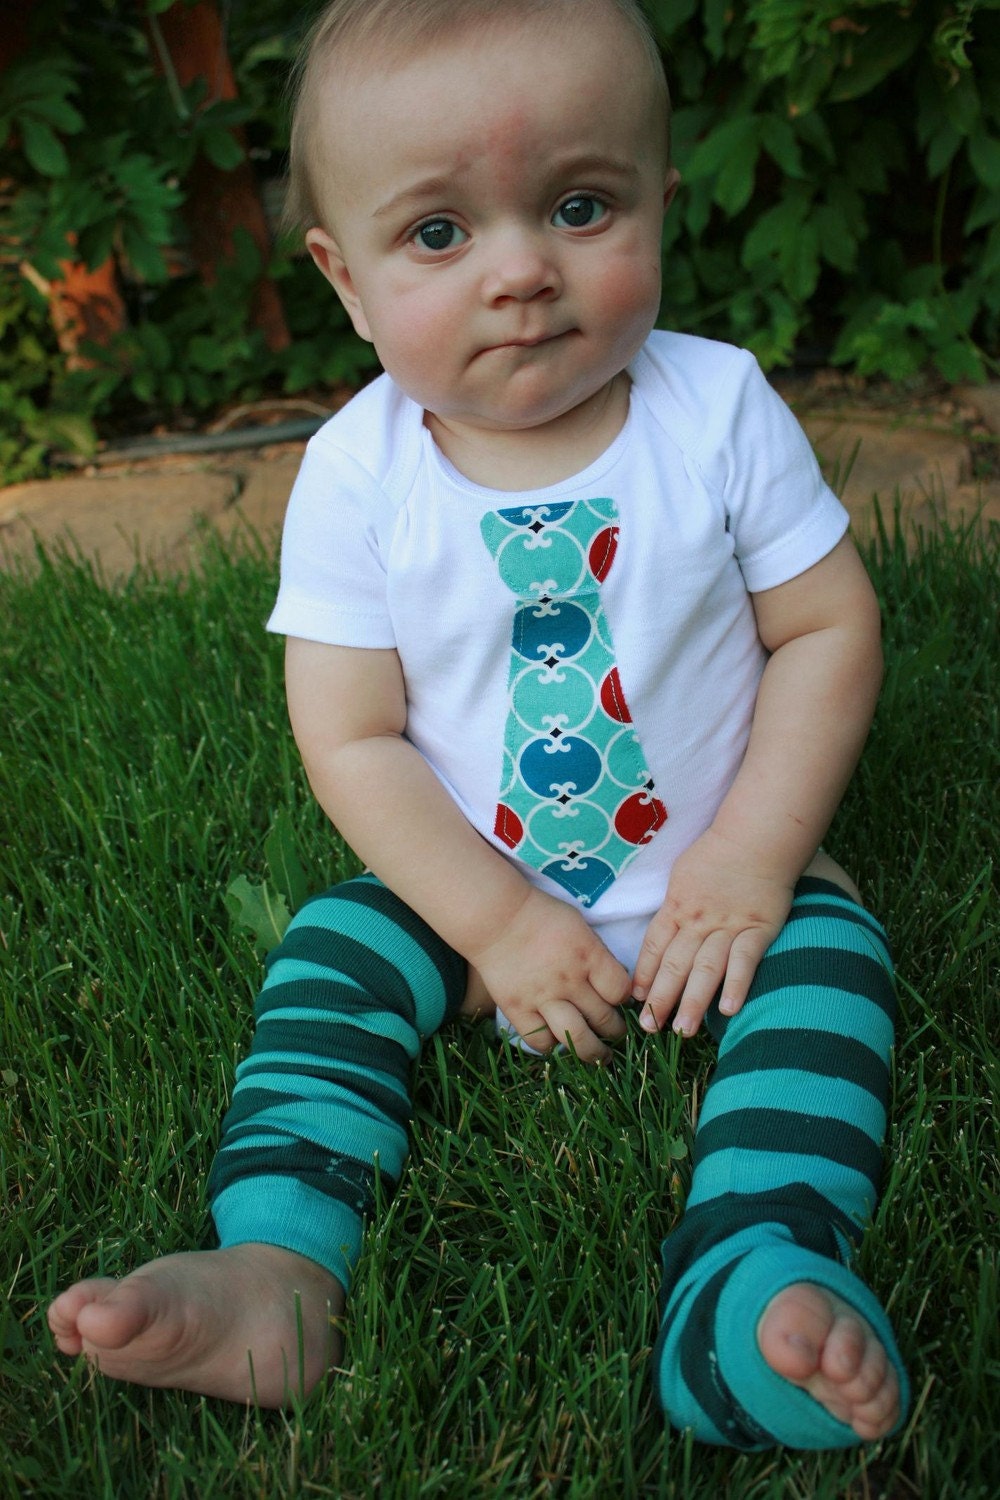
Sale-Tie applique onesie -Ready to ship- size 6 month
She has tons of these ADORABLE appliqued onsies for boy and girls! I wish my son was smaller so he could wear some of them! She also has VERY reasonable prices!
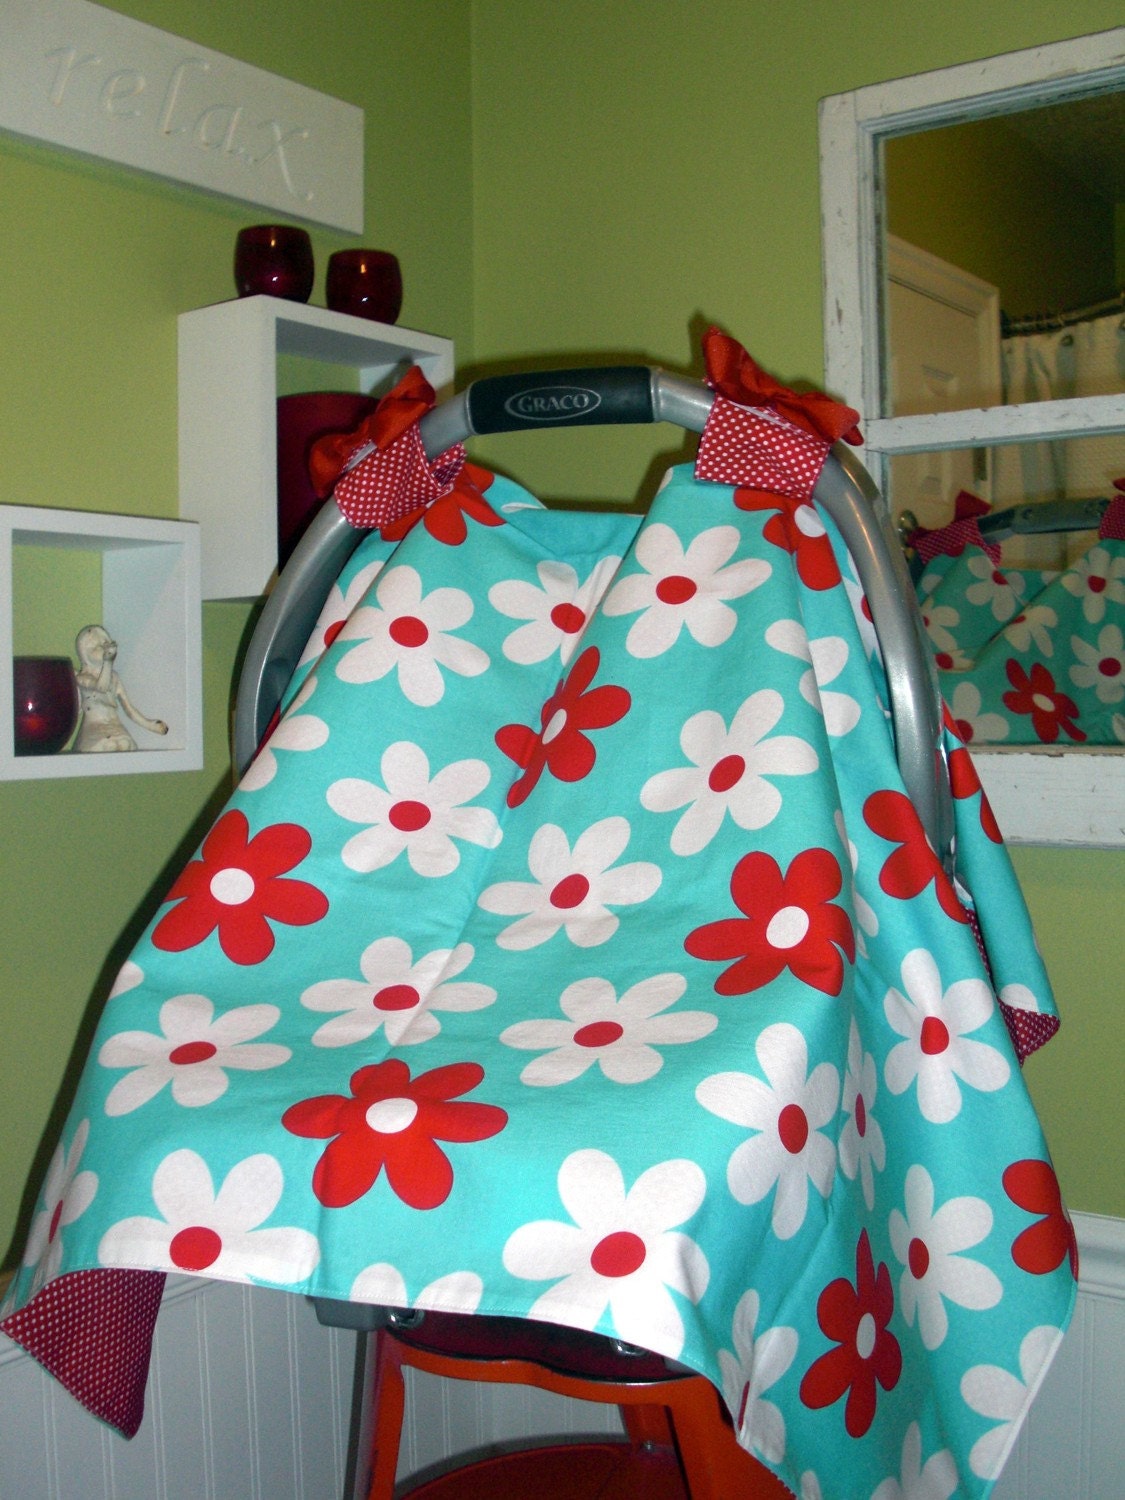
Car Seat Canopy in Turquoise and  Reds
She also sells these stylish carseat covers! These are great so your baby can be covered and stay asleep or to protect from any weather conditions!
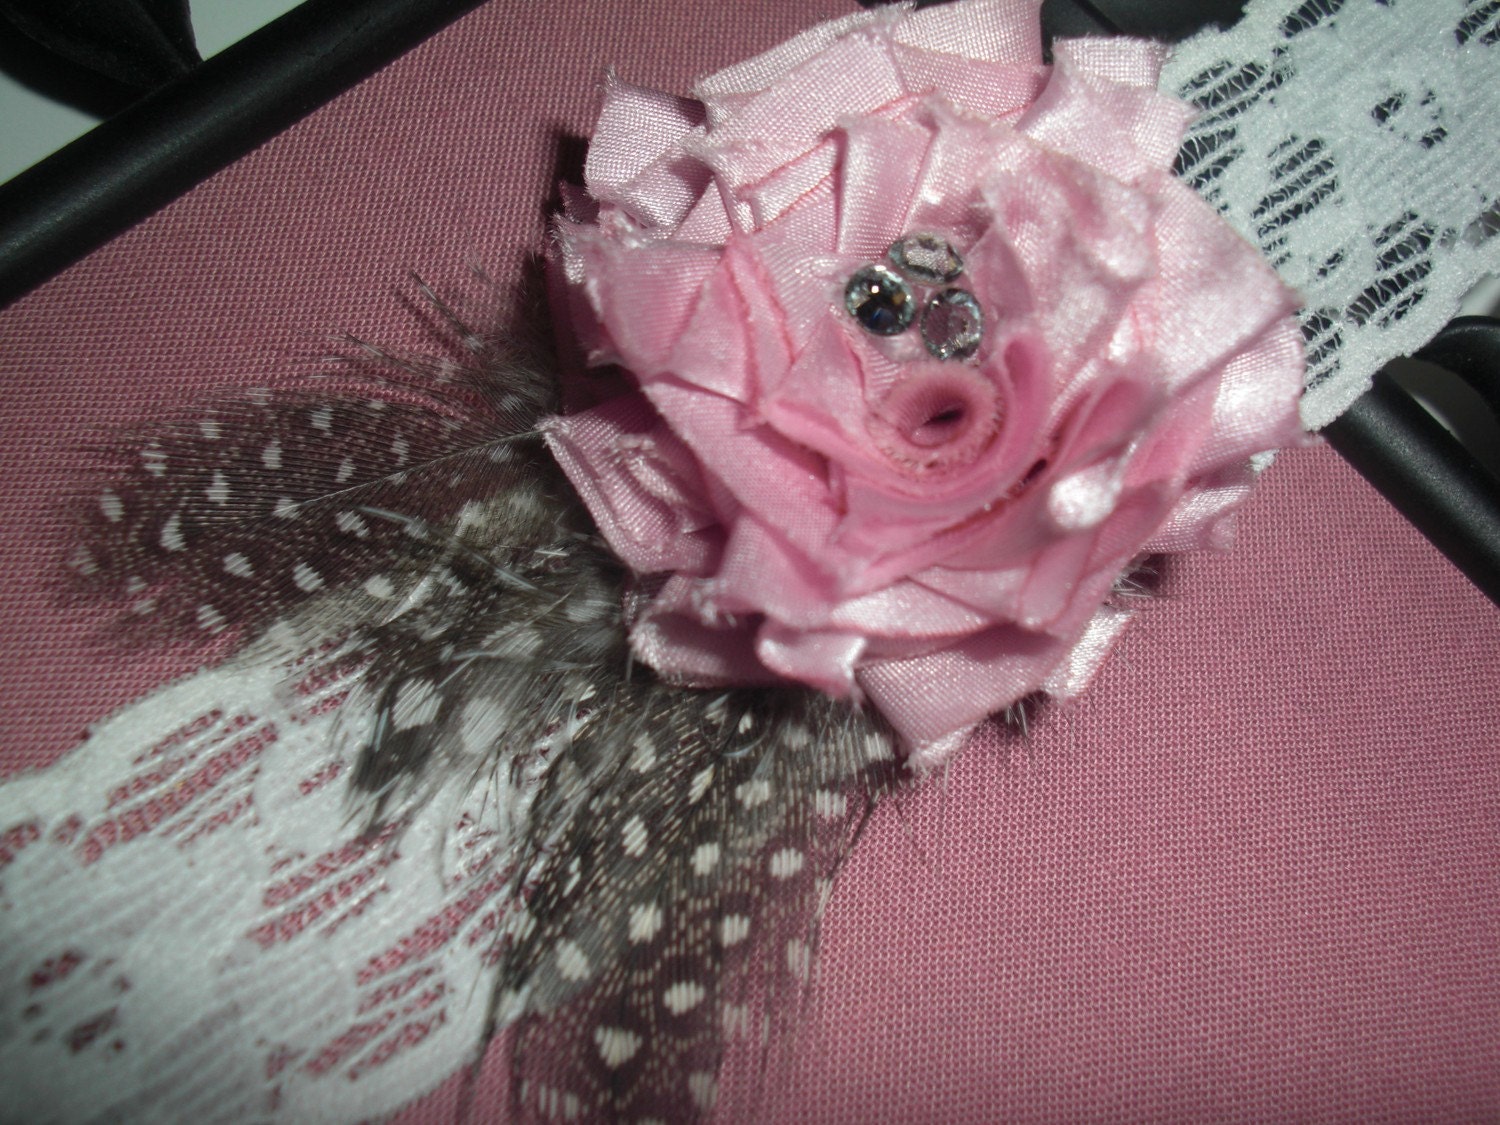
New- Beautiful Couture Hand Painted Silk Floret Headband
These couture headbands are my FAVORITE! They are so cute and unique and also reasonably priced! Go check our her etsy shop!

WINNER OF GIVEAWAY!!!

From the 17 comments I got, I did a random number generator, and the winner is #14! Lynsie from www.lynsflinders.etsy.com! I will be doing a blog bost about her etsy shop shortly and she will now be on my sidebar! Thank for everyone who participated!

Monday, December 20, 2010

200 Follower GIVEAWAY!

When I was close to 100 followers, I said I would maybe have figured out giveaways by my 200th follower.... I still do not know a whole lot about giveaways, but I am going to try one out. Since I yet have no sponsors and no "stuff" to give out, I am going to giveaway some advertising! If you win this giveaway I will place your button of your blog, etsy site, or whatever you want on my right sidebar. I will also do a whole post about you, your blog, your etsy shop or whatever it is you do! SO.

TO ENTER:
1. Become a FOLLOWER!
2. Leave a comment on this Blog post about your site or whatever you want me to advertise!

I will first have to figure out how to do a number generator thing, and when I do, I will do that on FRIDAY. So you have a few days! Thank you ALL SO MUCH!

Brownie Covered Oreos

Another great recipe from my friend Sam! It isn't so much a recipe, but it is a delicious treat! Here is what you need for Brownie Covered Oreos!
NEED:
1 Box of Oreos
1 Box of Brownie Mix

Mix the brownie mix according to whatever package you are using

Dip the oreo into the brownie mix. Make sure it is covered all the way

Oil a muffin tin, and put the oreos inside. You can even put a little bit more brownie mix on top if you want lots of brownie

Cook them at whatever degrees the package says for about 15 minutes. They should come out of the muffin tin very easily. I melted a little bit of white chocolate on top just to make it pretty, but not neccessary!

Last! ENJOY! They are best hot because the oreo is kind of melted and delicious.


Thursday, December 16, 2010

Flower Accent Pillow

A few moths ago I was at Kohl's shopping around, and I saw this pillow:

I think it was $15-$20, so I thought I could re create it for sure! Here is what I did.

I covered one of my old gross pillows with this rose fabric. I thought it was really pretty, and it was on sale!

Then I started with my first layer of petals. I spaced them out because I knew as I added more petals, the holes would get filled. I used my trusty hot glue gun to attach the petals, but you could sew if you wanted.

Then I added two more rows of petals, I made them a little smaller each time. To fill the empty spot in the middle I added three of my no sew flowers.

The final product! It doesn't look exactly like the one at kohls, but I like it!

This is how it is going to sit in our room. There are so many possibilites with colors you could do with this pillow! Enjoy!

Wednesday, December 15, 2010

Red Velvet Cupcakes with Cream Cheese Frosting

Since I got such a large response to my red velvet cake truffles, I thought I would re-post my red velvet cupcakes. SO good.

I made the red velvet cupcakes with cream cheese frosting! I used one of Paula Dean's recipes. I love her. And, we share the same last name, so we are practically related. :) The frosting is absolutely delicious. I am going to just use the frosting recipe again on a cake! Here is how they turned out and the recipe!


RED VELVET CUPCAKES WITH CREAM CHEESE FROSTING

Recipe courtesy Paula Deen, 2007

Ingredients

• 2 1/2 cups all-purpose flour

• 1 1/2 cups sugar

• 1 teaspoon baking soda

• 1 teaspoon salt

• 1 teaspoon cocoa powder

• 1 1/2 cups vegetable oil

• 1 cup buttermilk, room temperature

• 2 large eggs , room temperature

• 2 tablespoons red food coloring

• 1 teaspoon white distilled vinegar

• 1 teaspoon vanilla extract

For the Cream Cheese Frosting:

• 1 pound cream cheese, softened

• 2 sticks butter, softened

• 1 teaspoon vanilla extract

• 4 cups sifted confectioners' sugar

• Chopped pecans and fresh raspberries or strawberries, for garnish

Directions

Preheat the oven to 350 degrees F. Line 2 (12-cup) muffin pans with cupcake papers.

In a medium mixing bowl, sift together the flour, sugar, baking soda, salt, and cocoa powder. In a large bowl gently beat together the oil, buttermilk, eggs, food coloring, vinegar, and vanilla with a handheld electric mixer. Add the sifted dry ingredients to the wet and mix until smooth and thoroughly combined.

Divide the batter evenly among the cupcake tins about 2/3 filled. Bake in oven for about 20 to 22 minutes, turning the pans once, half way through. Test the cupcakes with a toothpick for doneness. Remove from oven and cool completely before frosting.

For the Cream Cheese Frosting:

In a large mixing bowl, beat the cream cheese, butter and vanilla together until smooth. Add the sugar and on low speed, beat until incorporated. Increase the speed to high and mix until very light and fluffy.

Garnish with chopped pecans and a fresh raspberry or strawberry.

Cook's Note: Frost the cupcakes with a butter knife or pipe it on with a big star tip.

Monday, December 13, 2010

No Sew Shirt Re-Fashion

I had an old shirt that was stretched out and too big as well as having a stain. This idea came to me last night about what to do with it! I remembered in high school when people would cut up the sides of their shirts and tie it off to make it smaller. I decided to do this, but up the front so it wouldn't look too high school. Here is what I did!
Start with a regular shirt that is too big for you

I didn't cut right up the center, I cut more to the side because I liked it not centered

Then on both sides of the cut, cut slits about one inch long and a half an inch wide. These do not need to be exact at all.

NEXT. Start tying. If you have more slits on one side than the other, that is fine, just grab two at a time and tie with one from the other side.

When you are done it should look something like this!

A fun re-fashion for a boring shirt!

Thursday, December 9, 2010

Red Velvet Cake Balls

My friend Sam told me about this easy fun delicious recipe.
You Need:
1 Box of Red Velvet Cake Mix
1 Can of Cream Cheese Frosting
Bakers Chocolate or Chocolate Chips
First mix up your easy box of cake

Second, bake the cake according to the directions

Third, crumble up the cooked cake after it is cool and mix it with all the cream cheese frosting

This is what it looks like all mixed up


Next, roll up the cake into balls

Melt the chocolate, and roll or dip the balls into the chocolate. I got lazy and just drizzled some on top

They are SO tasty and so decadent! Enjoy!